这里其实非常简单
基本没什么特别的知识
在setup调用GetLesson函数获取课程数据
然后提交给store
    async function GetLess() {
      let result = await GetLesson();
      if (result === "error") {
        alert("获取课程失败");
        return;
      }
      store.commit("ChangeLessonInfo", result);
      console.log("课程result", result);
    }
    GetLess();
而GetLess是简单的一个post获取数据
export function GetLesson(userName, password, Code, Id) {
  return new Promise(async (resolve, reject) => {
    let postdata = {
      service: "alioth.study.course.list",
      tenantCode: store.state.UserInfo.bindUserList[0].tenantCode,
      userName: store.state.UserInfo.bindUserList[0].userName,
      businessTenantCode: store.state.UserInfo.bindUserList[0].tenantCode,
      businessUserName: store.state.UserInfo.bindUserList[0].userName,
      state: 0,
    };
    post(
      "https://xueqiplus.chinaedu.net/aliothprovider/router",
      await GeneratePostData(postdata)
    ).then((response) => {
      if (response.code === "0") {
        let detail = JSON.parse(response.data);
        resolve(detail);
      } else {
        resolve("error");
      }
    });
  });
}
service方法名
tenantCode用户id
userName用户名
businessTenantCode用户id
businessUserName用户名
state疑似固定值
因为登陆的时候就读取了相关数据,所以这里直接里填就可以了
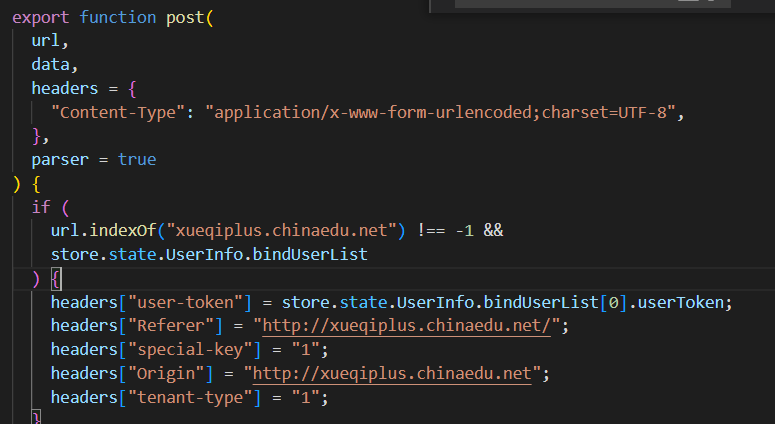
需要注意的是我们登陆之后每个post都需要携带token
所以这里我们默认做一个携带的判断,判断是否存在token,并url匹配固定域名
我们还设置了一些其他的协议头,为了跟原post的数据表一致
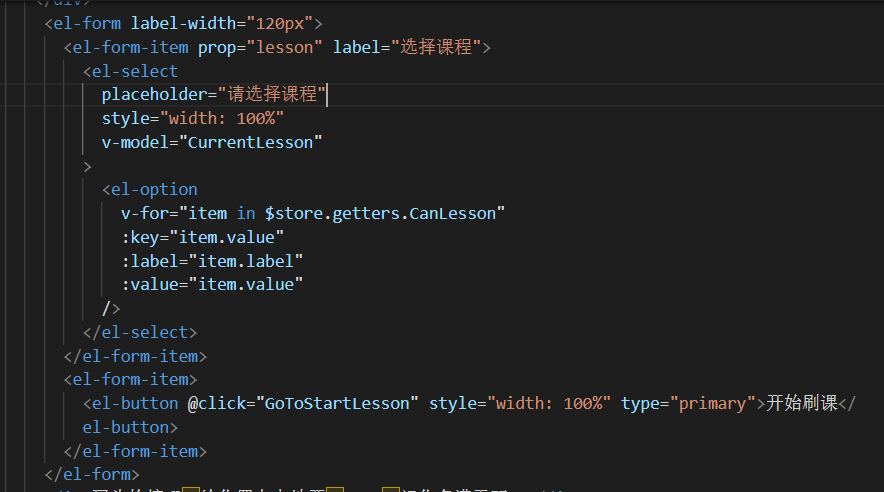
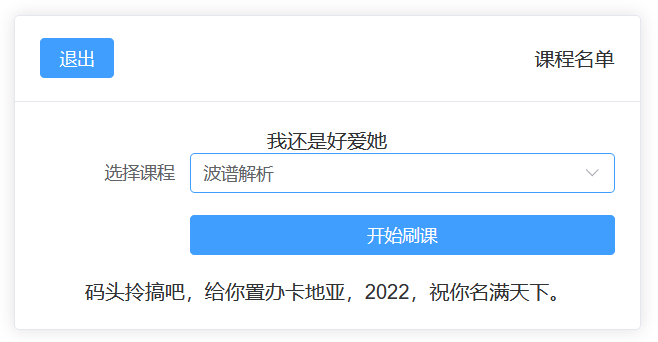
将数据返回存入vuex之后,简单编写代码即可
点击开始刷课后进入GoToStartLesson函数
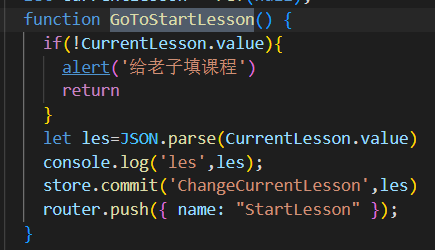
这里判断了是否存在值,如果不存在则提示添加课程
存在则parser后提交给vuex,然后跳转到开始刷课的路由
那么这节课我们就结束了~
结语
撒花~


 置顶卡
置顶卡 沉默卡
沉默卡 照妖镜
照妖镜


